OpenClaw Local Deployment Guide
Learn how to deploy OpenClaw locally on Windows. This step-by-step guide covers Node.js installation, OpenClaw setup, configuration, and model API connection.
If you are new to OpenClaw, local deployment is usually the easiest way to get started. For long-term usage, cloud deployment is recommended. This guide explains how to deploy an OpenClaw Agent in a local environment and complete the basic configuration required to run Agent Skills.
This article uses Windows local deployment as an example, providing step-by-step instructions for installing OpenClaw, running it locally, and connecting a model API. After completing the setup, you will be able to run OpenClaw on your local machine and start using Agent Skills.
The deployment process consists of three main steps:
- Install Node.js
- Install OpenClaw
- Initialize and configure OpenClaw
Step 1. Install Node.js
OpenClaw requires the Node.js runtime environment. Make sure Node.js is installed on your system before continuing.
1.1 Check if Node.js is Installed
Open Command Prompt or PowerShell as Administrator and run:
node -v
If a version number appears, for example:
v20.x.x
Node.js is already installed and you can proceed to the next step.
If the command is not recognized or the version is too old, install the latest Node.js version from the official website.
After installation, reopen the terminal and run:
node -v
to confirm that Node.js was installed successfully.
Step 2. Install OpenClaw
2.1 Install OpenClaw Using npm
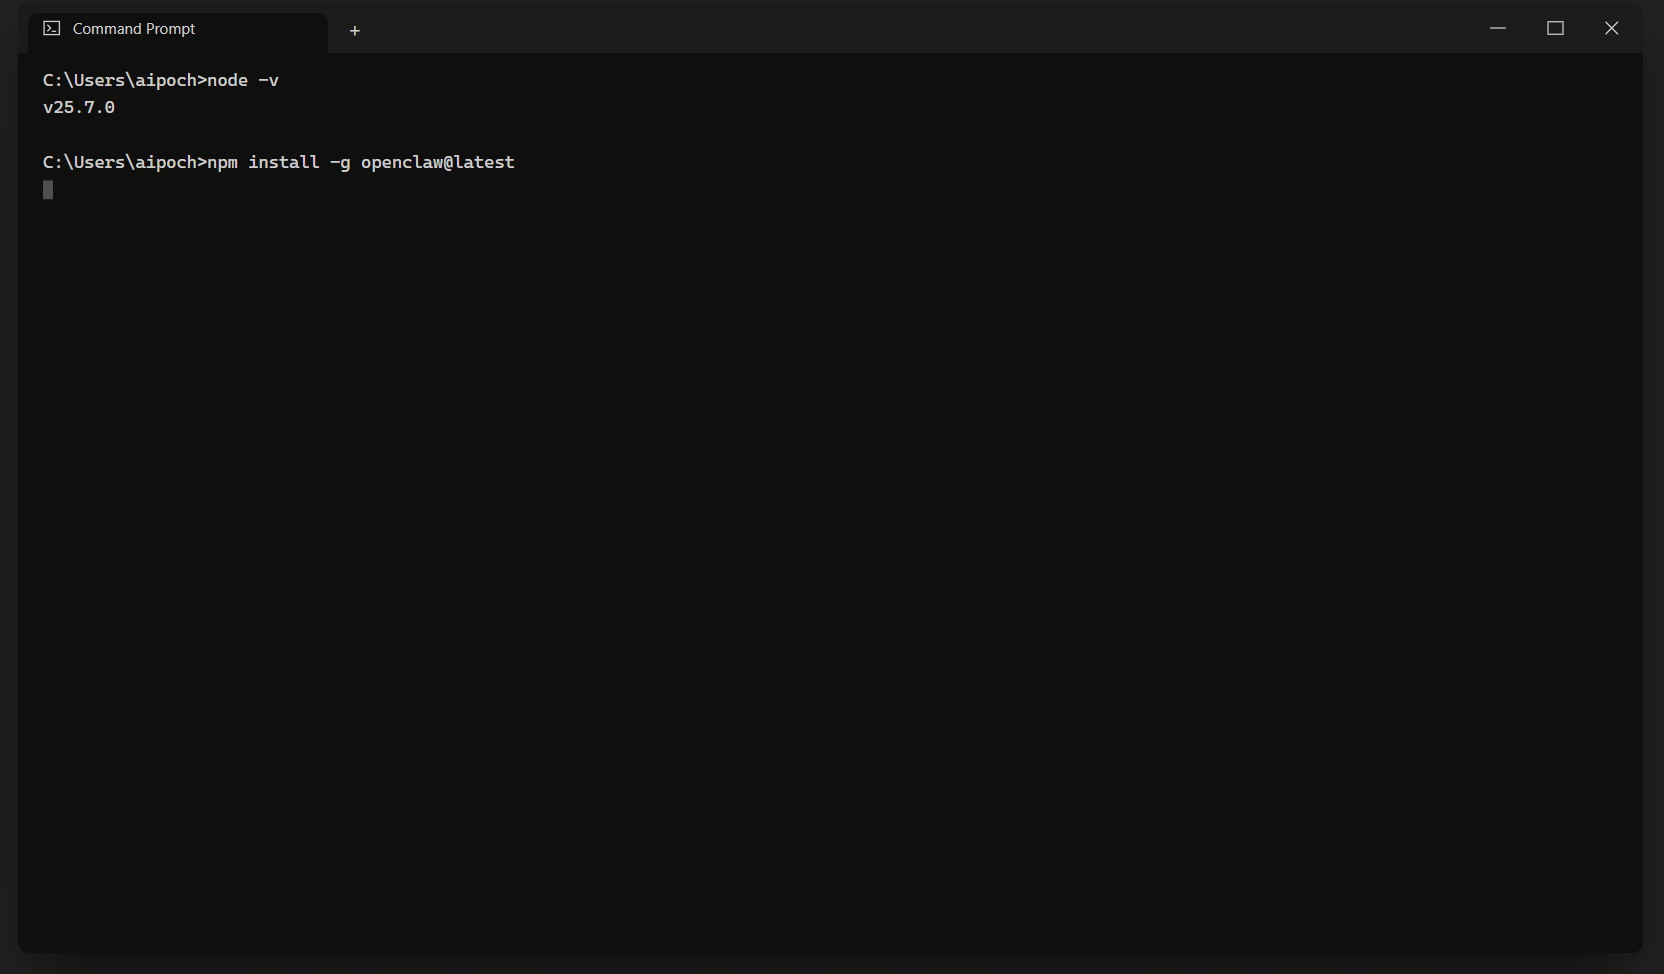
In an Administrator terminal, run:
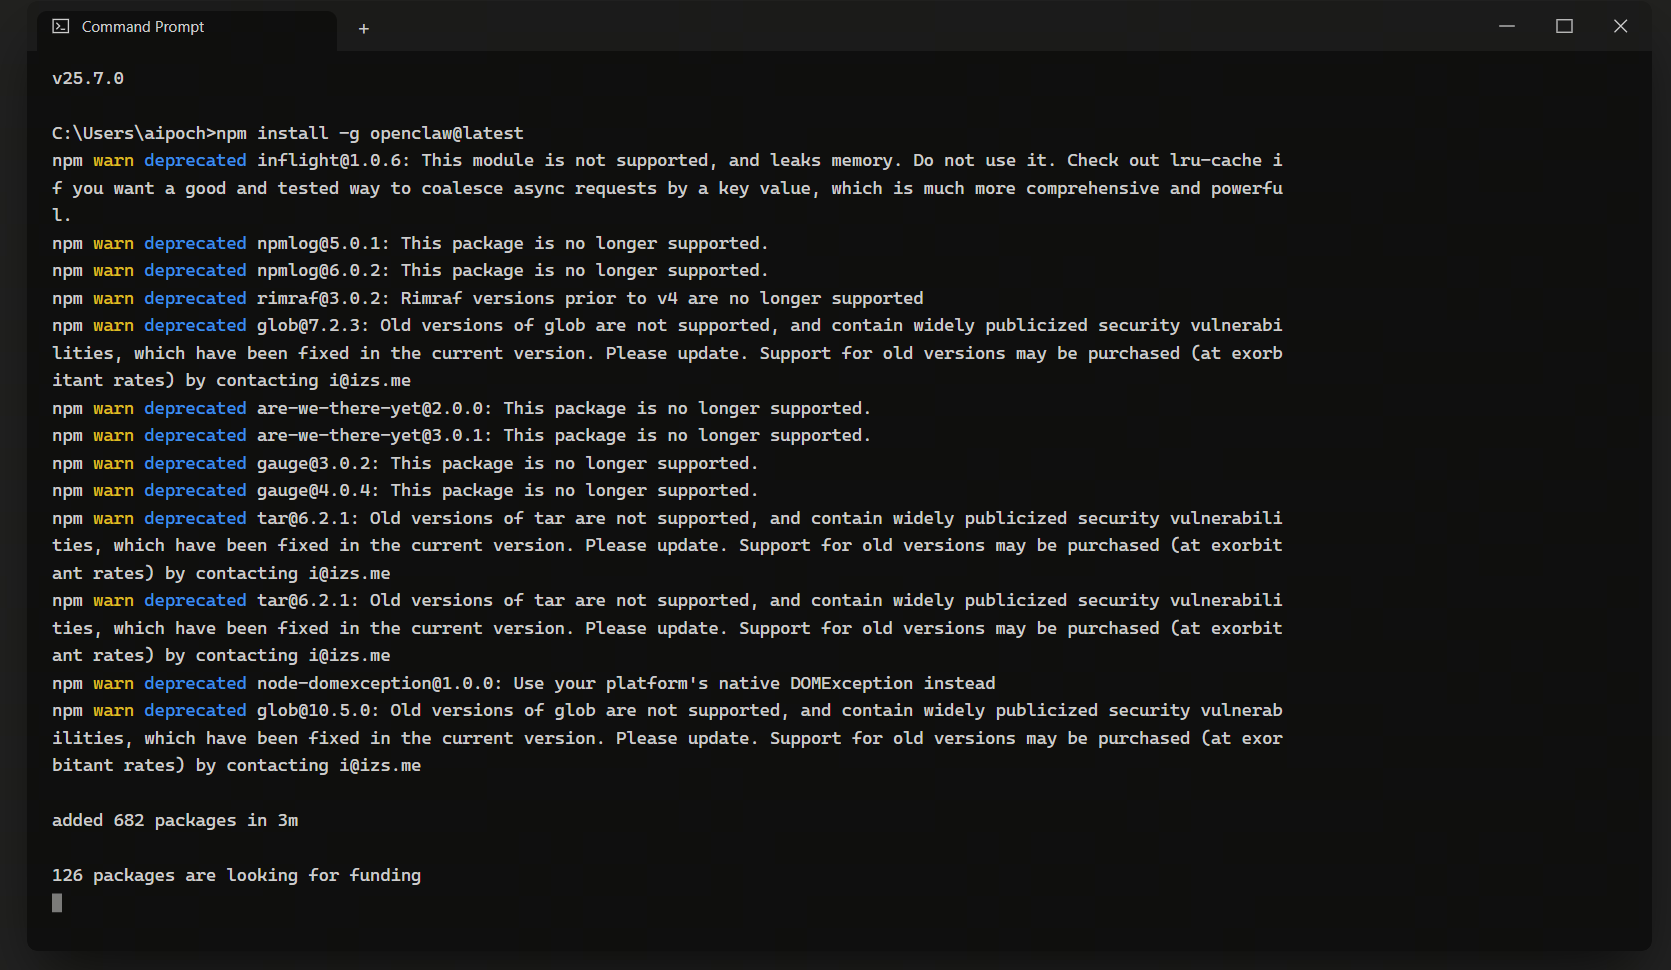
npm install -g openclaw@latest
This command installs the latest version of OpenClaw globally.
2.2 Install the OpenClaw System Service
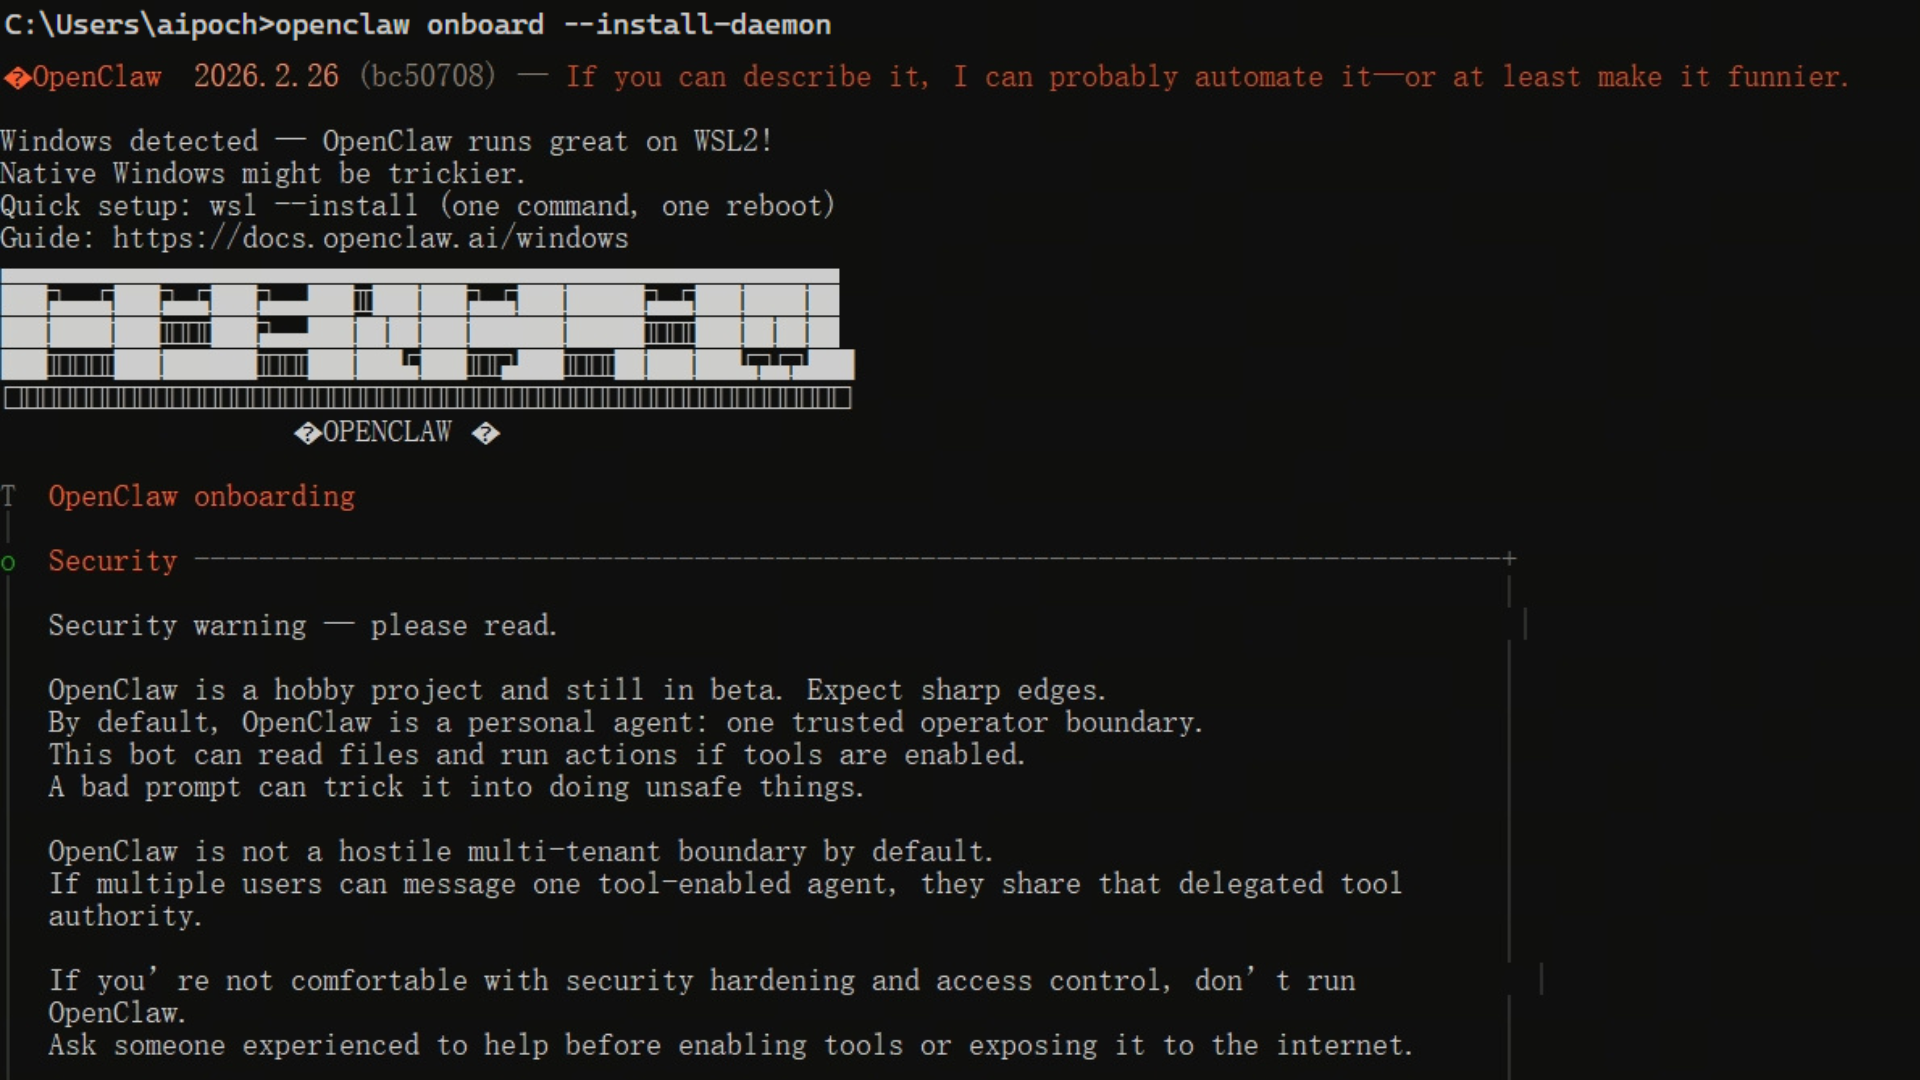
Run the following command to start the installation process:
openclaw onboard --install-daemon
OpenClaw requires elevated system permissions.
When prompted to allow installation of the system service, type:
yes
Step 3. Initialize OpenClaw Configuration
After starting the onboarding process, you will be guided through a few simple configuration steps.
3.1 Choose Installation Mode
You will be prompted to select installation mode:
- QuickStart
- Manual
For this guide, select:
QuickStart
3.2 Select a Model Provider
Next, choose your model provider.
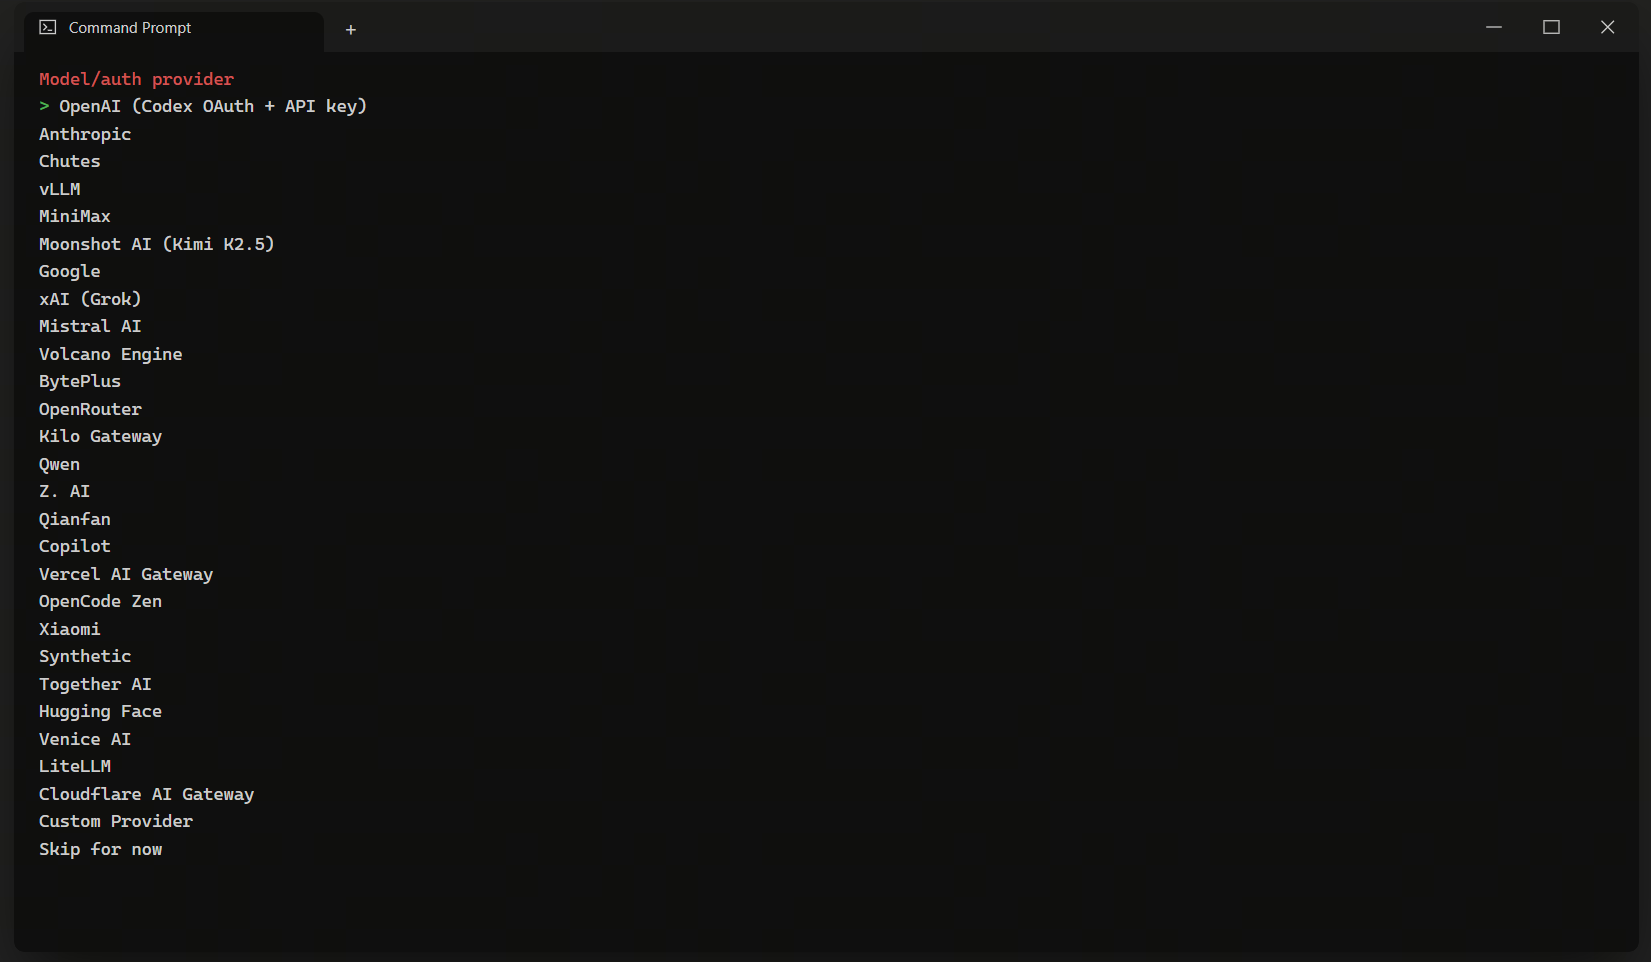
This guide uses Moonshot AI (Kimi K2.5) as an example.
After selecting the provider, continue to the next step.
3.3 Enter Your API Key
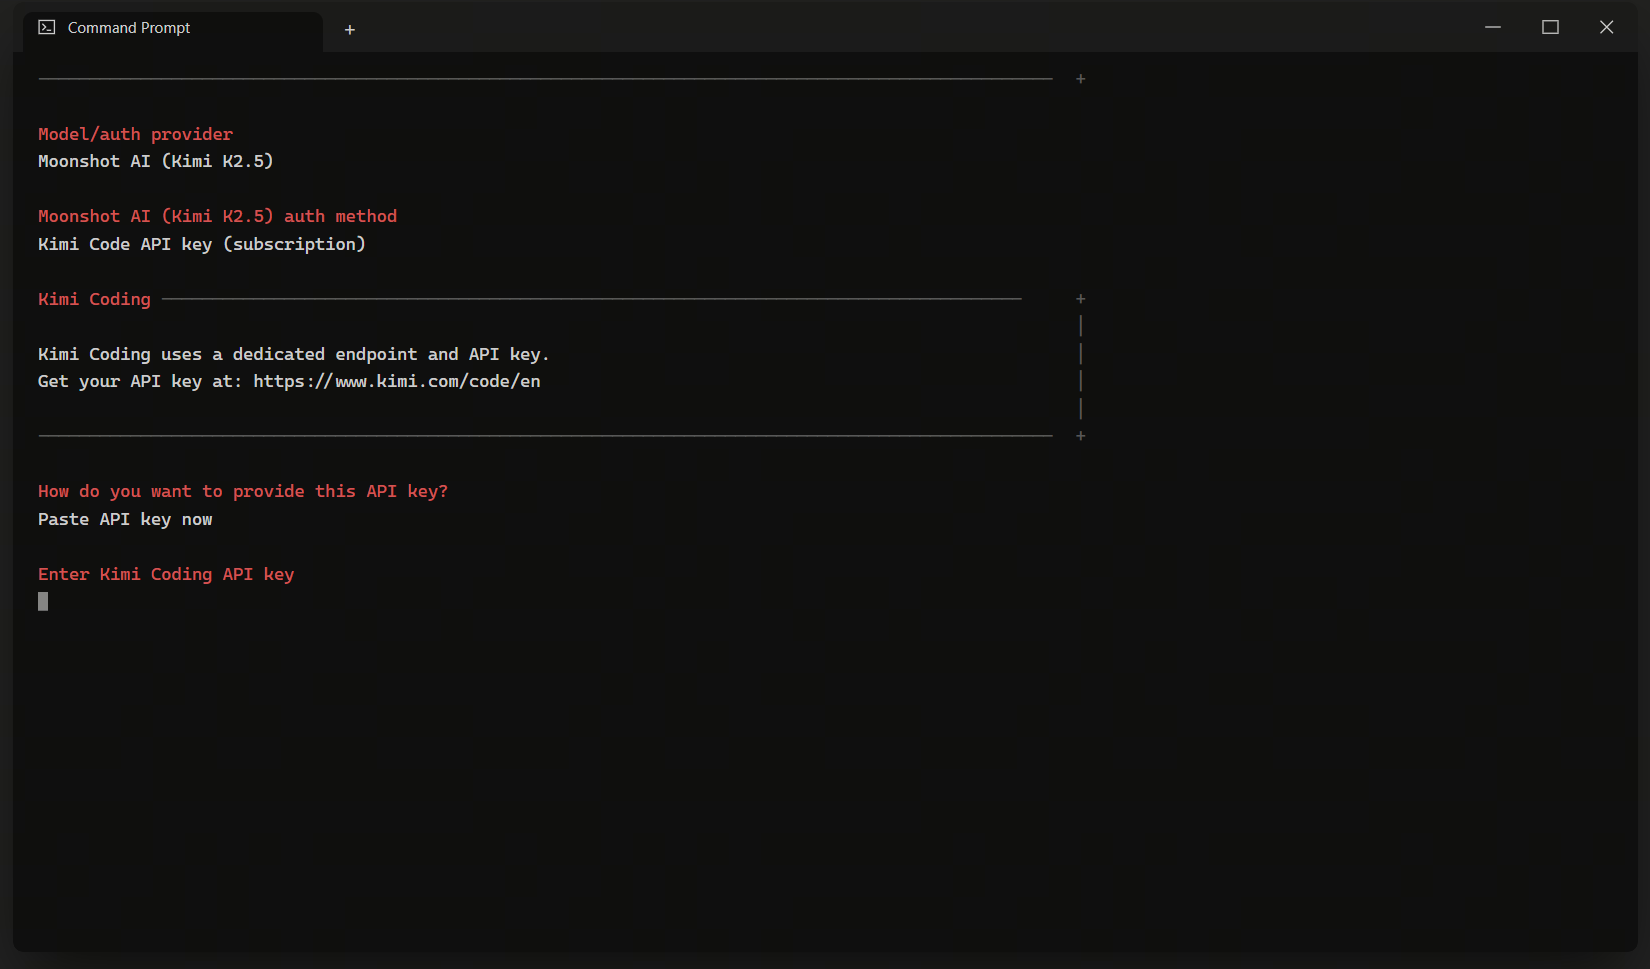
You will be prompted to enter your model API key:
Enter your API key:
Paste your API key and confirm.
3.4 Select Channels
Next, choose the channels you want to enable.
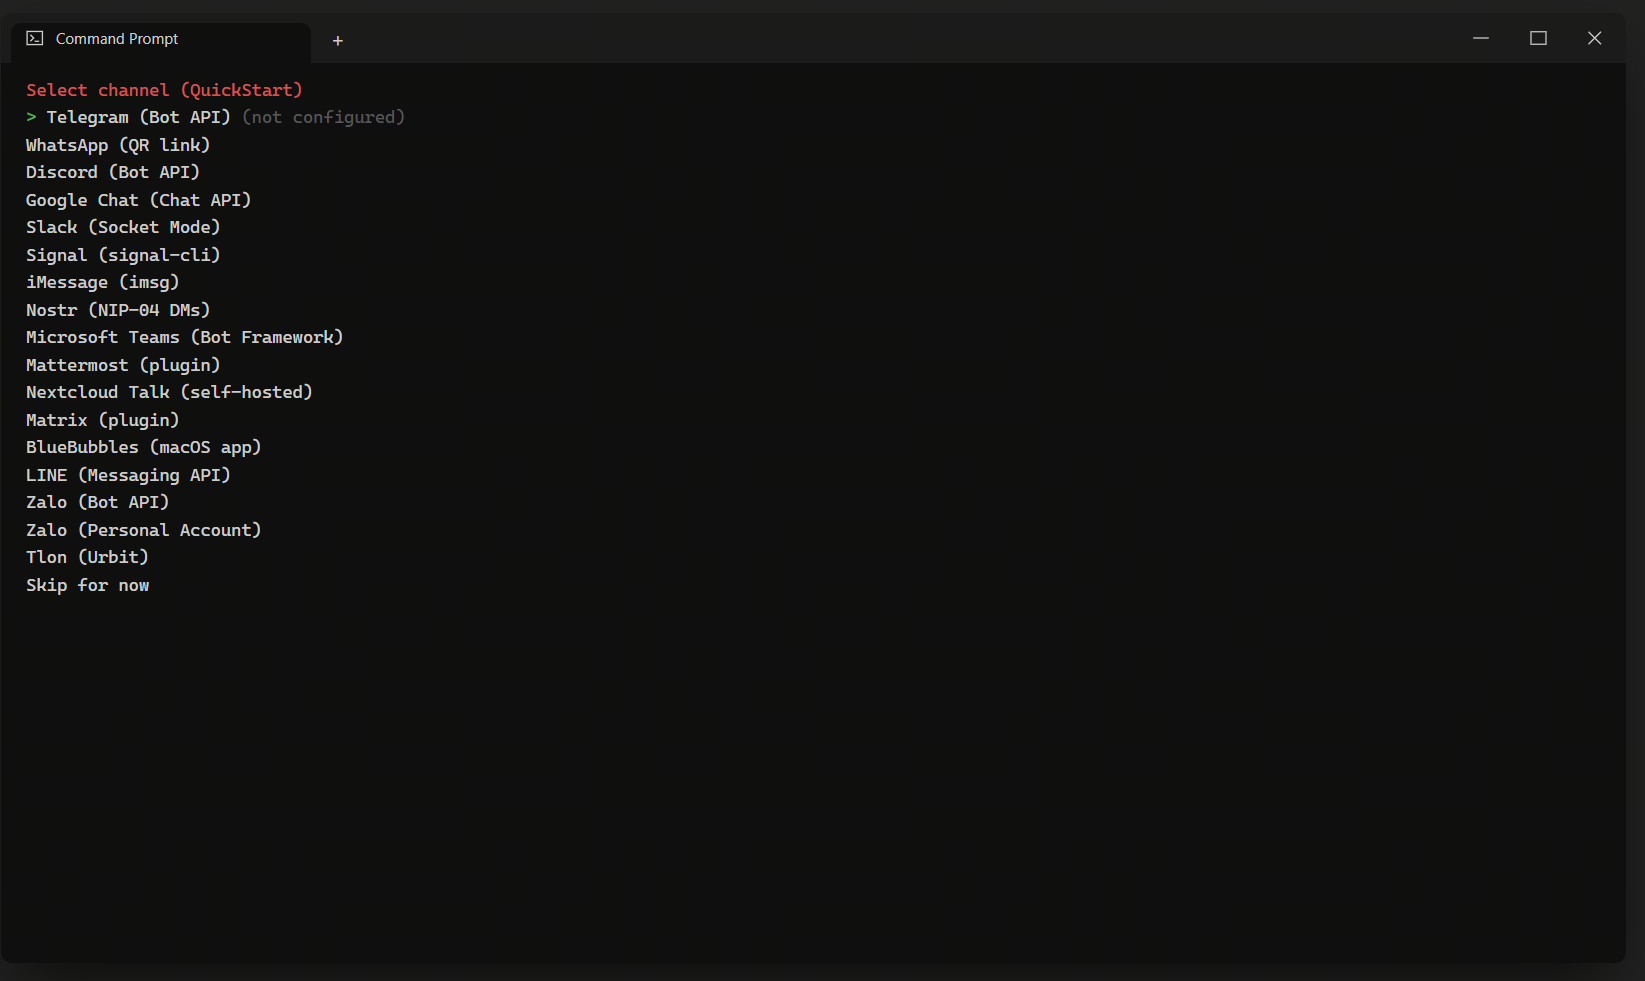
Select the channels according to your needs and continue.
After completing the setup, OpenClaw will be fully configured and ready to use. You can now start running your Agent and using Agent Skills.